General Playstyle
Namor is a powerful Duelist in Marvel Rivals who excels on both Attack and Defense. While not many players are familiar with this underrated character, he’s a fantastic pick whether you’re just starting your climb from Bronze or looking to expand your roster for those intense Grandmaster matches.
In this guide, I’ll break down Namor’s strengths and weaknesses, explore his playstyle across different game modes, and share my personal journey to Grandmaster, only playing Solo Queue in Season 0 as Namor. I’ll also provide additional tips that helped me along the way and will hopefully increase your win rate as well now in Season 1.

Namors Kit & How to Utilize it
Basic Attack: Trident of Neptune
Namor’s basic attack, Trident of Neptune, allows him to hurl a deadly trident at high speed. The trident experiences slight drop-off as it travels, so when aiming for headshots, you may need to aim slightly above your target, depending on the distance.
Hitting an enemy with this basic attack reduces the cooldown of Namor’s “E” ability, Aquatic Dominion. Additionally, critical hits trigger the Monstro Spawn (Summons) to enter a Berserk state, granting them increased attack speed.
Left Shift: Blessing of the Deep
Namor summons a protective barrier that propels him upwards and allows movement in any direction. This barrier lasts for 3 seconds and can be canceled at any time.
Blessing of the Deep is a versatile tool for escaping tough situations or repositioning strategically. I’ll delve deeper into its utility and advanced techniques later in this guide.
E: Aquatic Dominion
Namor summons a Monstro Spawn (or “turrets,” as I’ll refer to them) that autonomously attacks enemies. You can summon up to two turrets simultaneously. Attempting to summon a third turret will despawn the oldest one, so it’s essential to manage your cooldowns effectively.
These turrets can attach to ceilings or walls, so placing them in hard-to-reach or inconspicuous locations is key. This positioning not only makes them harder for enemies to notice but also forces opponents to divert their attention away from your team.
Right-Click: Wrath of the Seven Seas
Namor hurls his trident to damage nearby enemies, simultaneously directing all Monstro Spawn to perform an enhanced attack on the nearest hit enemy. When the trident connects with an enemy, the Monstro Spawn enter a Berserk state, gaining increased attack speed.
This ability deals AoE damage and is an excellent tool for redirecting the focus of your turrets. Whether you need to drive an enemy flanker away from your supports or use it offensively to burst down enemy Strategists, Wrath of the Seven Seas is perfectly suited for the task.
Q: Horn of Proteus
Namor summons Giganto to leap onto enemies within range, disabling their mobility abilities.
This ability consists of two impact zones: a smaller inner circle and a larger outer circle. The inner circle deals 500 damage, while the outer circle deals 200 damage. Targeted enemies are marked as “Earthbound,” preventing them from using mobility abilities to dash or escape.
Team-Ups: Frozen Spawn
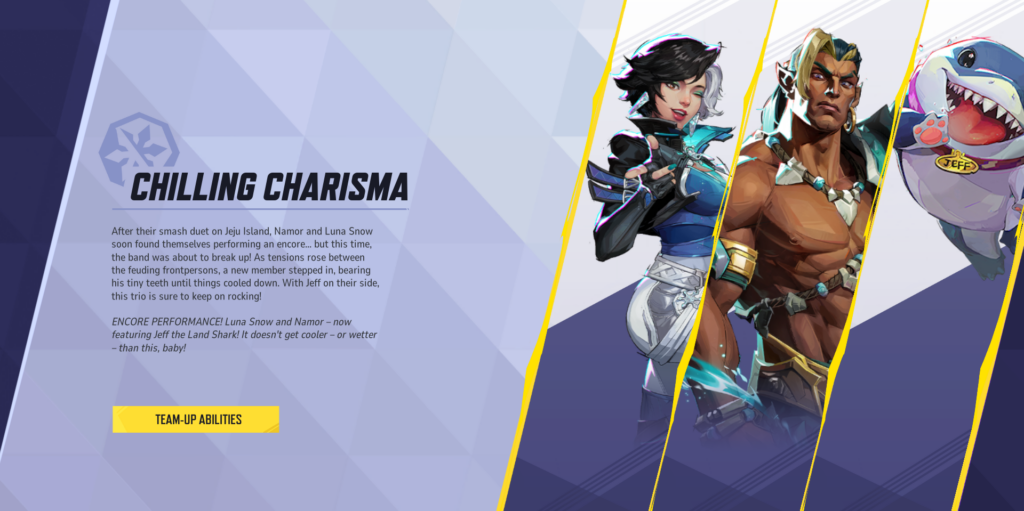
Teaming up with Luna Snow enables Namor to summon an additional, stronger turret. This enhanced turret has increased health and deals more damage compared to regular turrets.
This is an exceptionally powerful Team-Up, as Luna Snow is one of the best Strategists in the game. However, her strength often leads to her being banned in higher ranks, making this synergy difficult to utilize in competitive play.
How To Play Namor
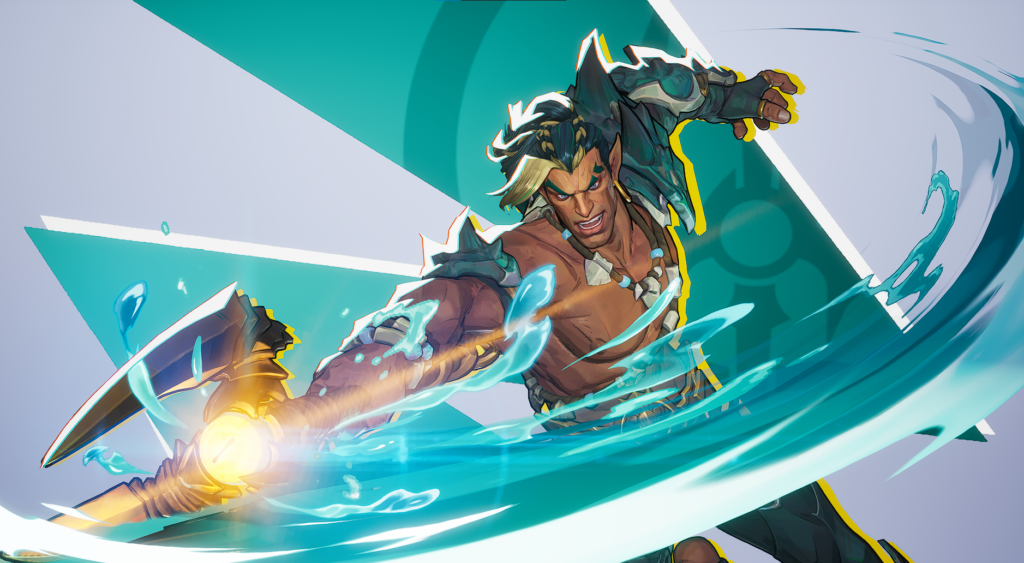
Namor can be an incredibly effective flanker if you need to take matters into your own hands. Mastering the layout of each map is crucial to maximize his potential. With your LShift – Blessing of the Deep, you can position yourself in areas inaccessible to many other characters. This often allows you to sneak behind the enemy’s backline. Once in position, strategically place your turrets and use RMB – Wrath of the Seven Seas to quickly eliminate enemy Strategists in the blink of an eye.
If eliminating Strategists isn’t feasible, staying behind enemy lines is still highly effective. By drawing their attention and forcing them to focus on you, you can create openings for your teammates to push through their defenses. This strategy is especially impactful on Escort maps, helping to move the match forward and secure victory.
On the other hand, Namor’s playstyle truly shines when defending points or chokeholds. By positioning yourself on high ground and strategically placing your turrets, you gain a clear view of the battlefield, enabling you to deal with enemy flankers or discourage their attempts. At the same time, you can maintain consistent DPS on the enemy team.
My Favorite Maps & Spots
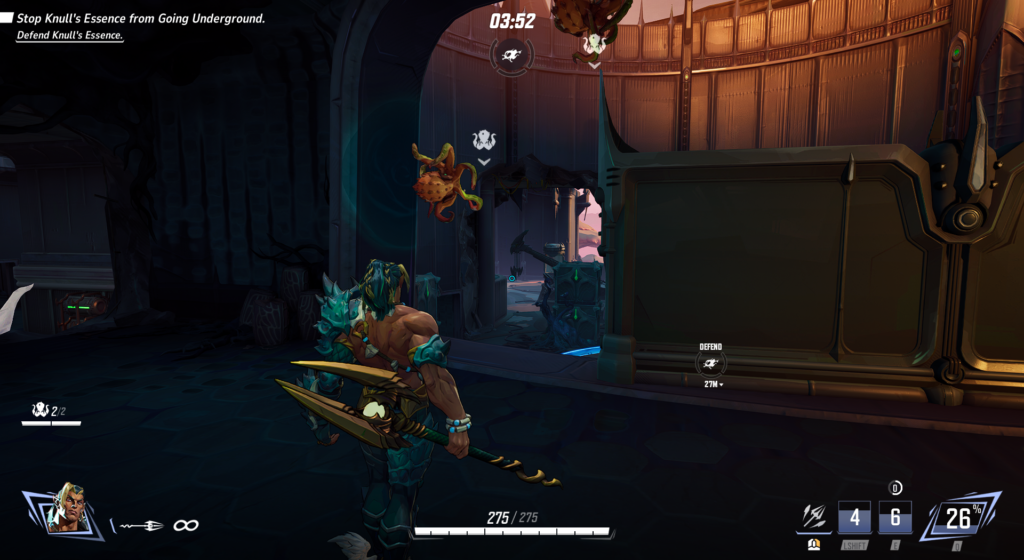
Symbiotic Surface (Klyntar) — Convergence
- Defending: This map allows you to position yourself on a balcony overlooking the entire area. You have readily accessible cover while still being able to place your turrets at various angles to confuse and pressure the enemy.
- Attacking: The attacking side offers great opportunities for flanking. Taking control of that same balcony can give you a significant advantage, provided the enemy isn’t vigilant.
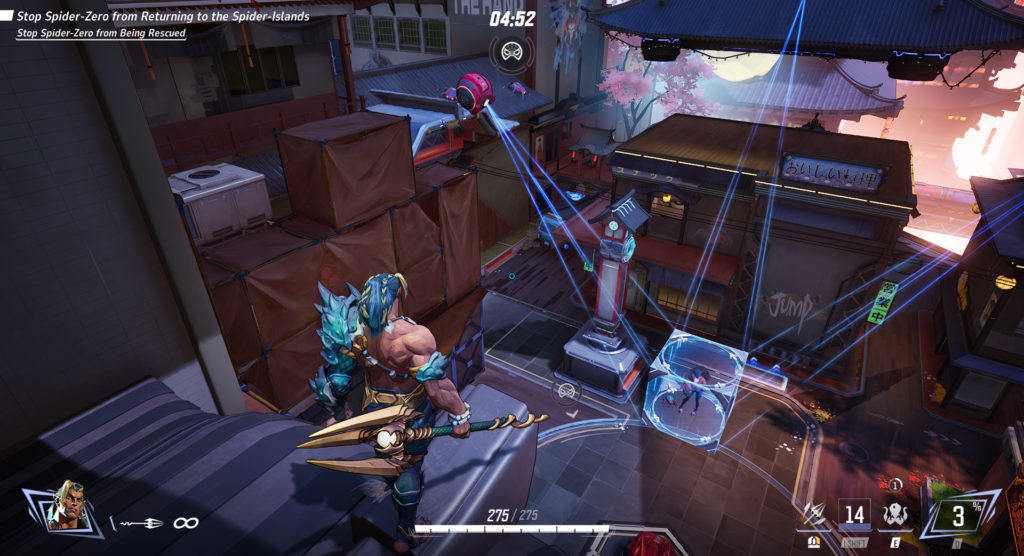
Shin-Shibuya (Tokyo 2099) — Convergence
- Defending: This map provides numerous high-ground spots for repositioning. Keep your LShift: Blessing of the Deep off cooldown to quickly relocate whenever danger arises, ensuring you can maintain an advantageous position.
Solo Queue Misconceptions
Playing Solo Queue in Season 1, you might encounter players insisting on the 2-2-2 strategy (2 Vanguards, 2 Duelists, 2 Strategists). While having two of each role can feel safe, it’s not mandatory and doesn’t always guarantee success. If you’re confident in your abilities with Namor and want to hone your skill while climbing, don’t feel pressured to switch to a different role just to satisfy others. 1 Tank and 3 Duelists (1-3-2) is perfectly fine in most games as long as your team mates are playing the roles they’re comfortable on, rather than trying out Vanguard or Strategist just for the sake of filling that 2-2-2 spot. Play to your strengths and focus on what works best for you.
Key Takeaways
- Aim slightly higher to secure headshots.
- Use RMB – Wrath of the Seven Seas only when your turrets are active to maximize its effectiveness.
- Position your turrets in hard-to-reach areas to divert enemy attention away from your team and toward your turrets.
- Save LShift – Blessing of the Deep for critical situations, but don’t hesitate to use it for repositioning to make yourself a harder target.
- Always stay alert and defend your Strategists from enemy flankers.
